If you do not like the font in the template and you would prefer a different one, you can easily change it. In this tutorial we will show you how you can do it yourself; and we are working with the font “Poppins”, but you can choose any font you like.
Load the font to Blogger
- Go to Google Fonts and find a font you like.
- Find the styles you want to use.
- Open your Blogger and go to Theme.
- Click on the arrow next to "Customize" and select "Edit HTML".
- Locate the line with preloaded Google Fonts.
- After the last font name and before the quotation mark, add this: |
- Write the name of the font you want to use. If it consists of more than one word, instead of space, add the plus sign.
- Examples: Open+Sans, Dela+Gothic+One, PT+Sans+Narrow.
- After the name, add the colon sign :
- Add the numbers for the style you want to use and divide them with a comma.
- Examples: 200, 300i, 400.
- Your final code should look like this:
- Save your changes.


Edit the CSS
- Go to Theme > Edit HTML.
- Find the section you want to edit — to edit (first) search for (second).
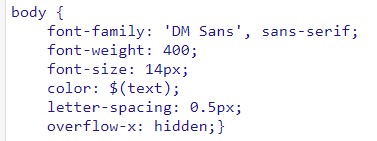
- Find the line that contains font-family. If it’s not in this section, you may have to press ENTER and keep looking.
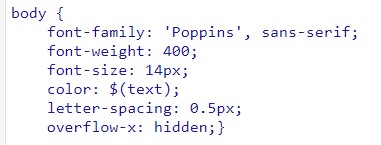
- Change line into the font you chose.
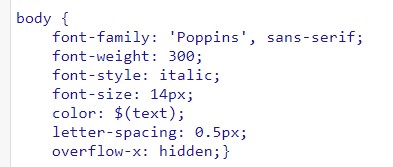
- Under font-family is font-weight > change this number to the number of the style you chose.
- If you chose a style in cursive, add this into a new line > font-style: italic;
- Save your changes.
top menu → .menu-wrap
header → .Header h1
blog description → .description
post title → .post-title
post body → body
sidebar headings → .sidebar-wrap h2
Social Media